My pro quality, compact songwriting setup
Here’s some current choices for putting together a fully professional quality songwriting setup, in a compact and portable format.
This gear list could be used to write and record studio-quality tracks and songwriting demos (depending on your skill level), all while traveling around and doing your writing in beautiful and inspiring environments. Always fun!
When it makes sense to spend more
Why bother paying more for a higher quality gear setup like this, when you could just go for some of the many cheaper options on the market?
Because sometimes being DIY means being cost-effective, not just cheap. In this case, we are indeed spending more money up front on gear that we could find for much cheaper.
But, we’re also saving a lot of potential time, effort, and additional money on the backend as a result of making these choices, and those savings will more than pay us back later on.
Whether those backend savings are worth the increased upfront costs to you is completely dependent on your individual situation. Is this kind of a setup right for you? Maybe. I wouldn’t go out and just buy everything on this list. Instead, use this as a starting point to inform your own research.
How to find even more bang for the buck when using this gear list
One way to get more bang for the buck is to look for this gear used, so you’re getting the same quality but at a slightly lower price than buying new. You can also find older models or floor demos that might be of similar quality, but at a cheaper price.
Hint: going for cost-effectiveness is also the logic on why you might take a course like Amazing Audio at Home. The right knowledge obtained at the right time allows you to get more out of every single piece of gear you’ll ever touch, for the rest of your life, once you take the time to learn the fundamentals properly.
That makes the value of that knowledge much higher than the value of any gear purchase you’ll ever make. It’s not about the gear, it’s about the skills.
Amazing Audio at Home exists to teach you those skills, at a more affordable price point than even a community college audio education can offer.
Benefits of this more professional setup
If you can find the right combination of gear, plus the right high quality knowledge that’s relevant for your individual situation, you get the maximum benefits of choosing a more professional gear setup like this. Those benefits include:
No more worries about recordings made casually in the moment being completely un-useable when taken back into the studio.
Less of a need to remix/re-record material you’ve already worked on, in general. This is where some big savings on unnecessary doubling up of production work can come into play. If buying gear at this quality and learning how to use it properly saves you even a day or two of studio time re-recording things, then it’s well on the way to paying for itself.
More creative control when you’re writing your music. This level of gear allows you to experiment with changing out high quality microphones and other individual pieces of equipment. This can be an important part of getting to a fully professional sound, as well as being a fun addition to your creative songwriting process.
Additional considerations before you buy
This gear is more expensive than the very cheapest consumer-level recording setups, and you should be in a solid financial position before you decide to spend this money.
You will need some interest in the technical side for this setup to work well for you. This might not be the best fit for a songwriter who doesn’t really care about technical production at all, and is looking exclusively for the easiest way to write music at home.
This setup could be overkill for something like content creation. Nobody is showing up for your content marketing based on the specific microphones you’re using; they’re showing up for what you have to say. In the context of audio done for content marketing rather than full-on music production and creative musical development, a good enough sound might actually be good enough for those purposes.
The pro quality portable songwriting gear list
Interfaces
Apogee Symphony
The Apogee Symphony offers impeccable audio credentials, with enough clean gain on the preamps to easily power low-output dynamic mics like the Electro-Voice RE-20. You also get access to high quality DSP preamp and effects modeling plugins as you’re recording, similar to what the more mainstream Universal Audio brand offers in their interfaces.
RME Babyface Pro
This interface features super high quality preamps and very accurate clocking, with strong compatibility across a wide range of different operating systems, both old and new. Don’t be turned off by the aging USB-B connection. There’s plenty of recording bandwidth available for this small number of channels, even when using the older USB spec.
Microphones
I’ve chosen these two particular mics for their durability, flexibility, and their high quality sounds when used on guitars (both acoustic and electric) and vocals. In combination, for a singer-songwriter who plays guitar, these two mics would allow you to capture both your instrument and your vocals at very high quality.
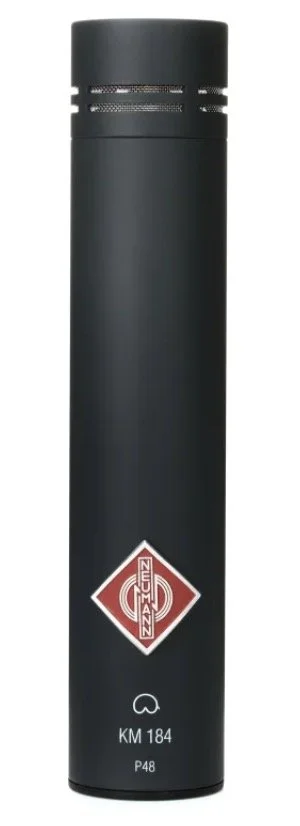
Neumann KM184
A versatile and rugged small diaphragm condenser mic that’s a classic for cymbals, hi-hat, orchestral instruments, and especially acoustic guitar. Quite a versatile little microphone.
Electro-Voice RE-20
One of my desert island mic choices, this made the list because it’s fully pro quality, built like a tank, and dead simple to use. The RE-20 combined with the Neumann KM184 on an acoustic guitar or an electric guitar cab (recorded with skill) would result in a very professional sound, useable back in the studio in many situations.
Cables
Mogami Gold
Why bother spending more on these high-end cables when you can get the same thing for $5 on Craigslist? Let’s think about what we want to do with our recorded material later on, when using a professional recording setup like this.
Cheap, shorted out cables lead to hiss, crackle, and random noise baked into your recordings. That noise can be removed if necessary later on, but in order to do that now you need to hire specialized and expensive studio professionals. So, we’re spending some extra money on cables now, in order to avoid significant additional expenses, headaches, lost time, and potential re-recording of your material later on.
Since we’re only setting up cabling for a two-channel portable songwriting setup rather than a giant 64+ channel commercial studio buildout, we don’t have to buy nearly as many cables. You might only need to buy two rather short 6-foot mic cables, in this particular case. That means we can afford to up the cable quality a bit, without getting too cost-prohibitive overall.
There’s also no quicker way to take the wind out of your sails during songwriting than your perfect take getting ruined by random cable buzz.
Mic stands
K&M Stands
I always prefer K&M stands; they tend to stay put much better than the cheaper options, which means much less annoyance and more consistency while you’re recording.
You might consider also adding a small counterweight to the boom when using the RE-20 in particular. It’s a heavy mic, and it can be a little bit much even for the top quality microphone stands.
I also like including a small 5 to 10 pound weight looped into the vertical boom, or using a sandbag placed at the bottom of the tripod. While this will reduce portability, adding some weight to the bottom of the stand can help prevent tip-overs, and reduce floor vibrations moving into your mic through the mic stand.
Carrying cases
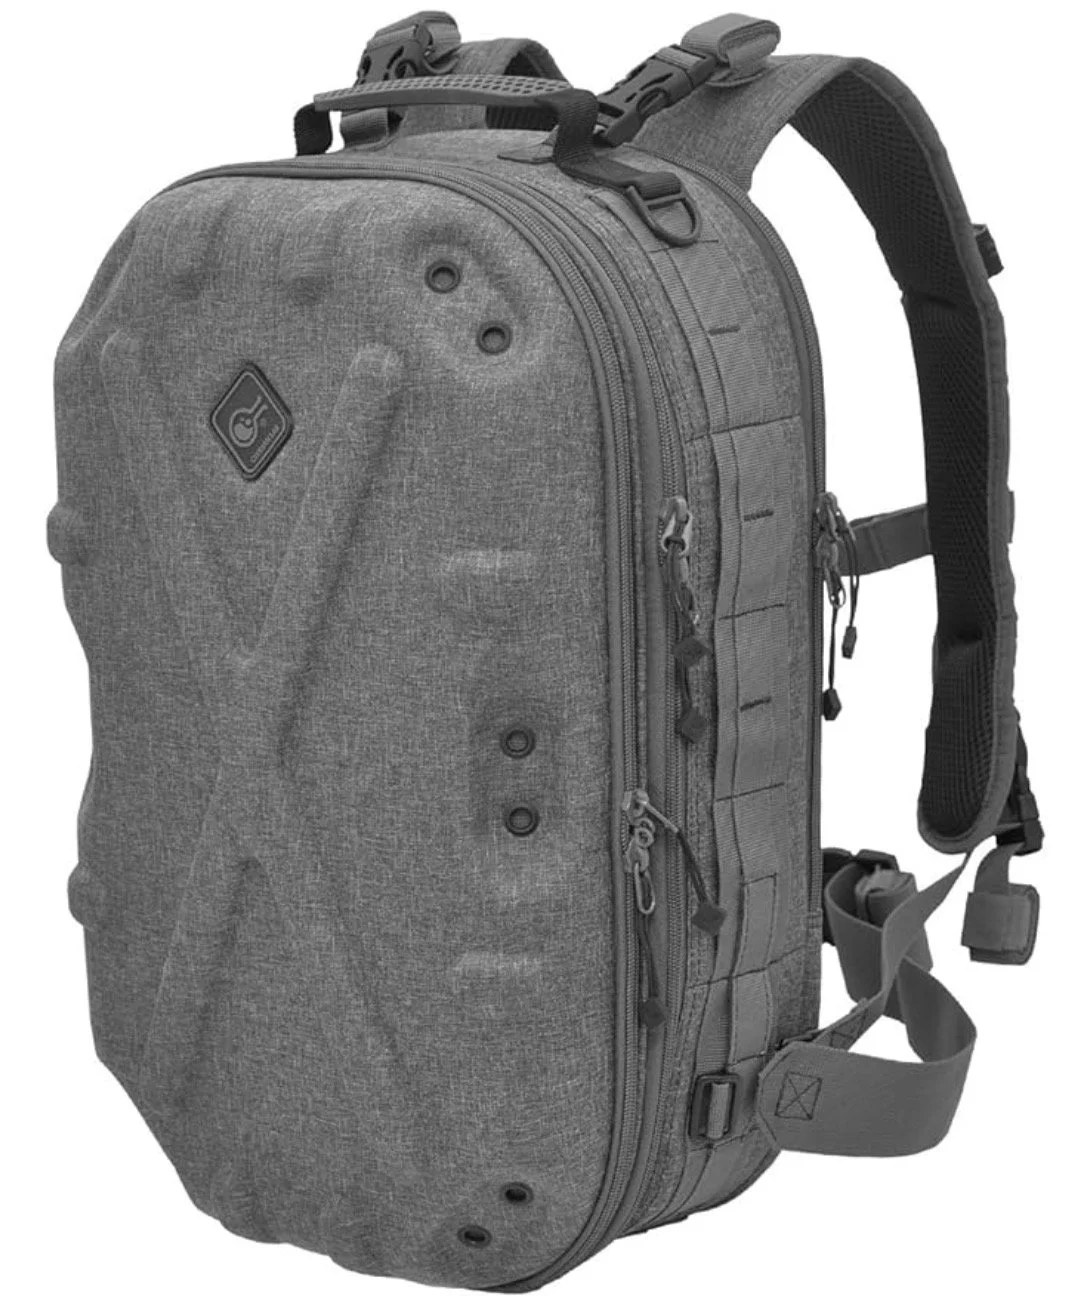
Hazard 4 Grayman Pillbox
Keeping this setup lightweight and portable was a primary design concern. For easy transport, this backpack features a laptop compartment and plenty of organized compartments for this gear, all within a hard outer shell that resists crushing.
Again, I wouldn’t just go out and buy everything you’ve seen on this list. Instead, use this as a starting point to inform your own research, and build a setup that works best for your individual situation.
And remember: the best gear in the world is useless to you, without also knowing how to use it properly. That’s what Amazing Audio at Home is for.


